Quick and Easy, Tried and True Recipes!
Welcome to Sweet Little Bluebird! Sharing a little happiness with simple, delicious, easy-to-make recipes the whole family will love.
-

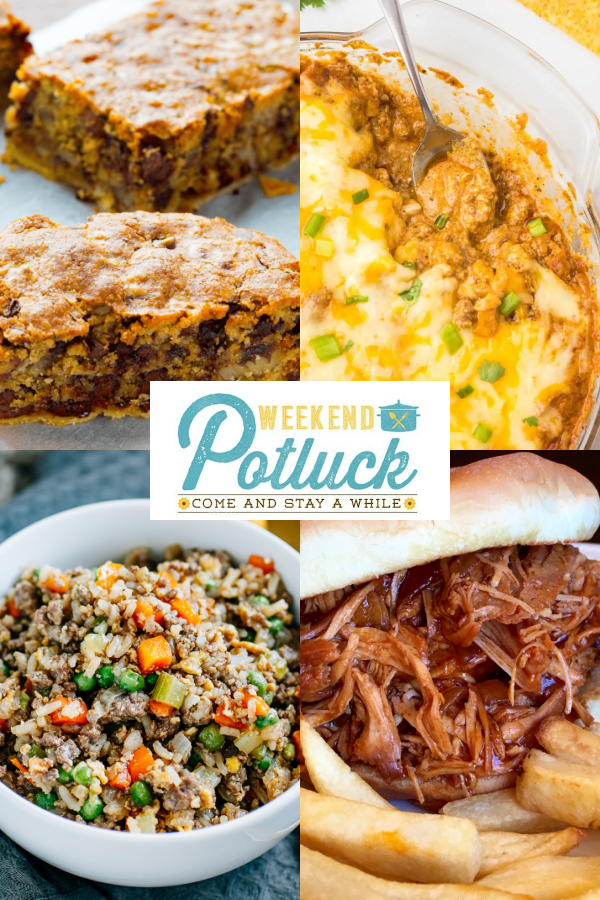
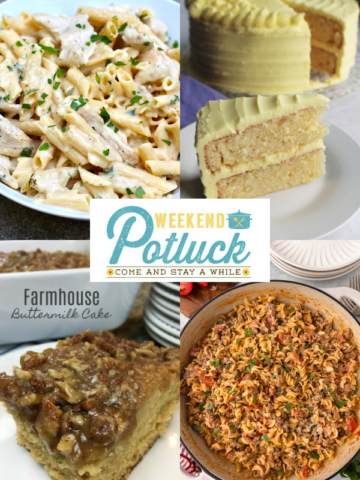
Kentucky Derby Pie Bars – Weekend Potluck 629
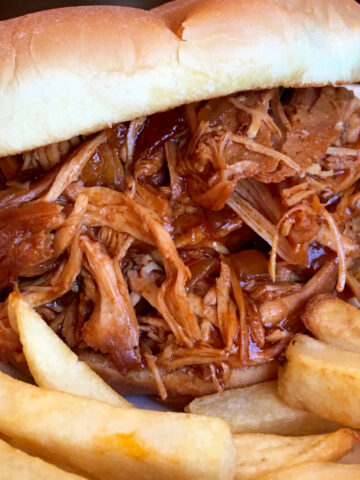
Welcome to Weekend Potluck 629,we are so happy you could join us! This week’s features – Kentucky Derby Pie Bars, Hot Taco Dip with Cottage Cheese, Ground Beef Fried Rice, and Slow Cooker Zesty BBQ Chicken. Every Friday, stop by Sweet Little Bluebird for our Weekend Potluck party, a place where top food bloggers have…Read…

LATEST RECIPES ON THE BLOG
Be sure to check-out the newest recipes on Sweet Little Bluebird!
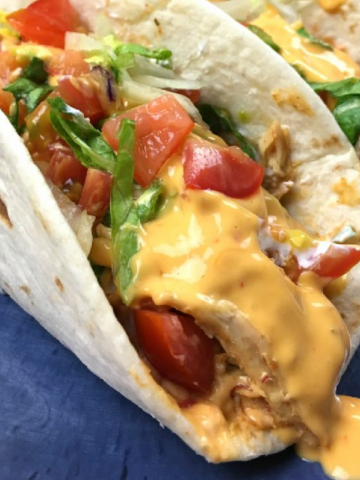
Trending Recipes
These recipes are the most popular for a reason – delicious, easy to make with great reviews!


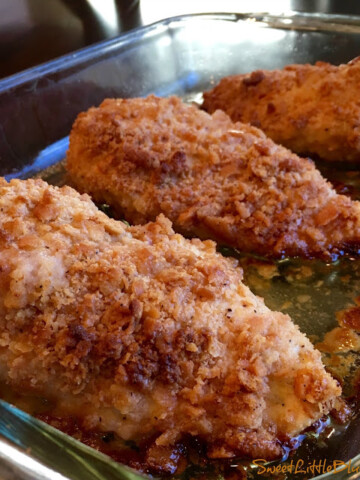
Tried and True
Here are some of the BEST tried and true recipes in my recipe box. These favorites have been tested and approved. I hope you find something new you’ll want to add to your recipe box!


See more Tried and True →
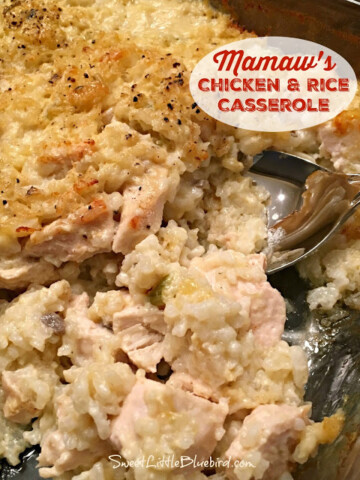
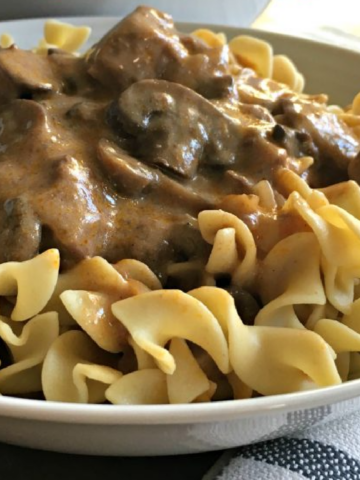
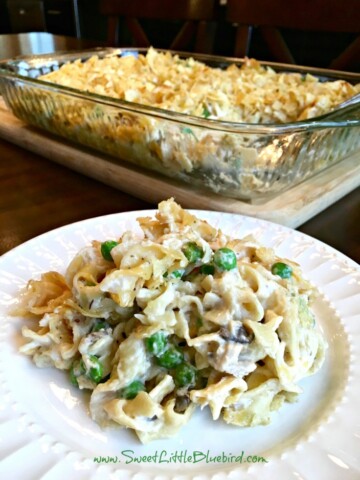
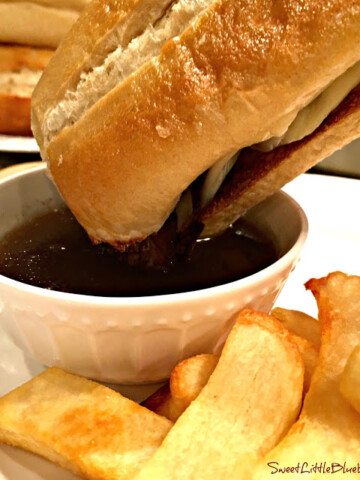
Main Dish
If you are looking for great go-to dinner ideas that require little time and effort, these recipes have you covered. Quick, easy, delicious, meals the whole family will enjoy.


See more main dishes →

About Me
Hi, I’m Mary, the face behind the food blog Sweet Little Bluebird. I am a Michigan girl, born and raised in Flint, and currently living outside of Atlanta, Georgia. I am married to a great guy from Northern California, together we have two sweet girls.
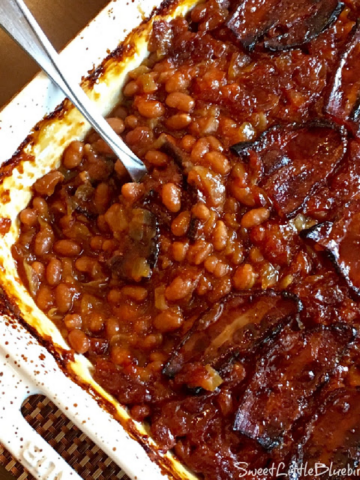
Side Dish
Looking for something new to compliment your next meal? Check out these tasty, quick and easy side dishes.
See more side dishes →